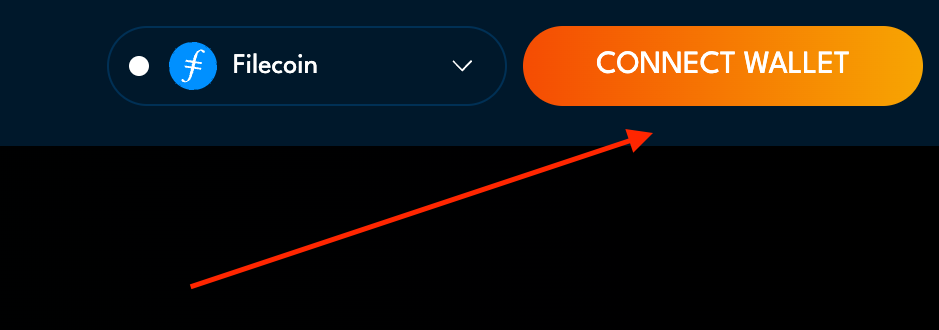
Connect Account Button
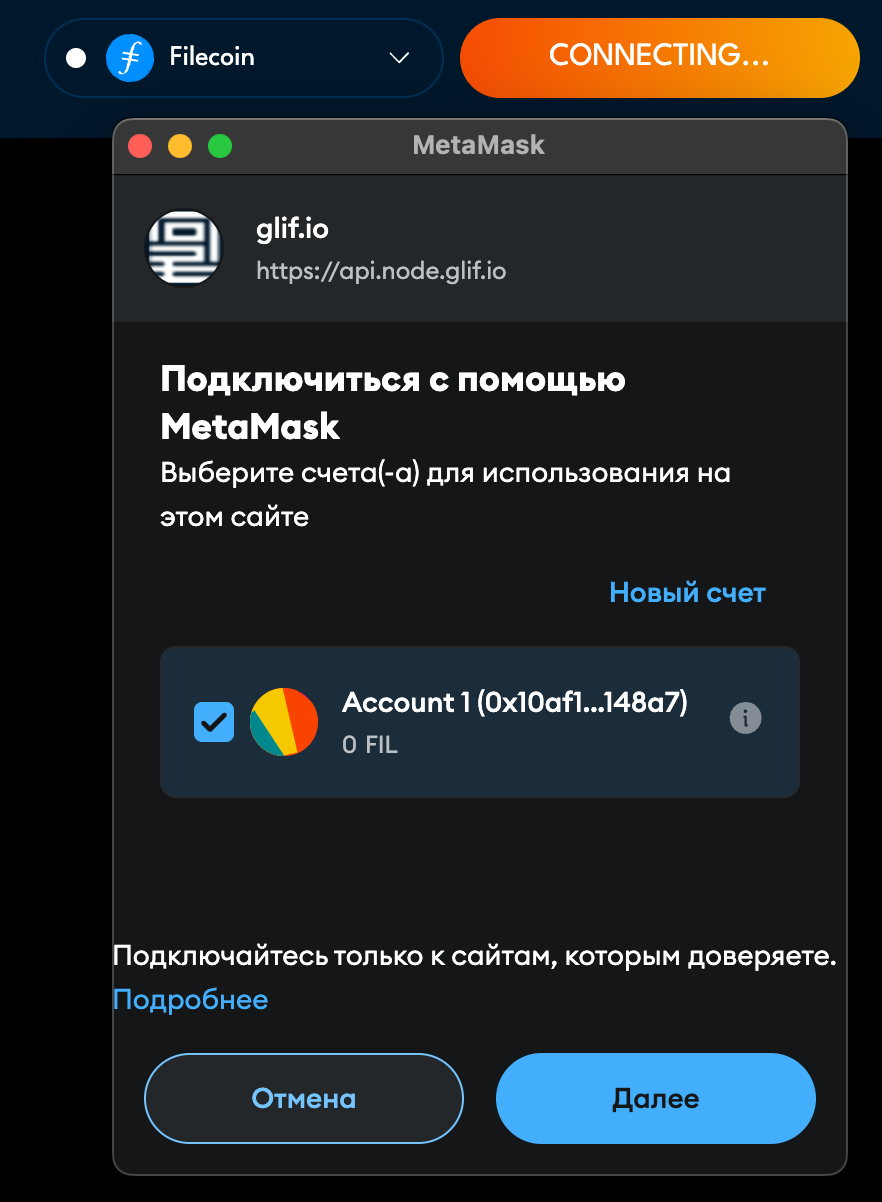
Connection window
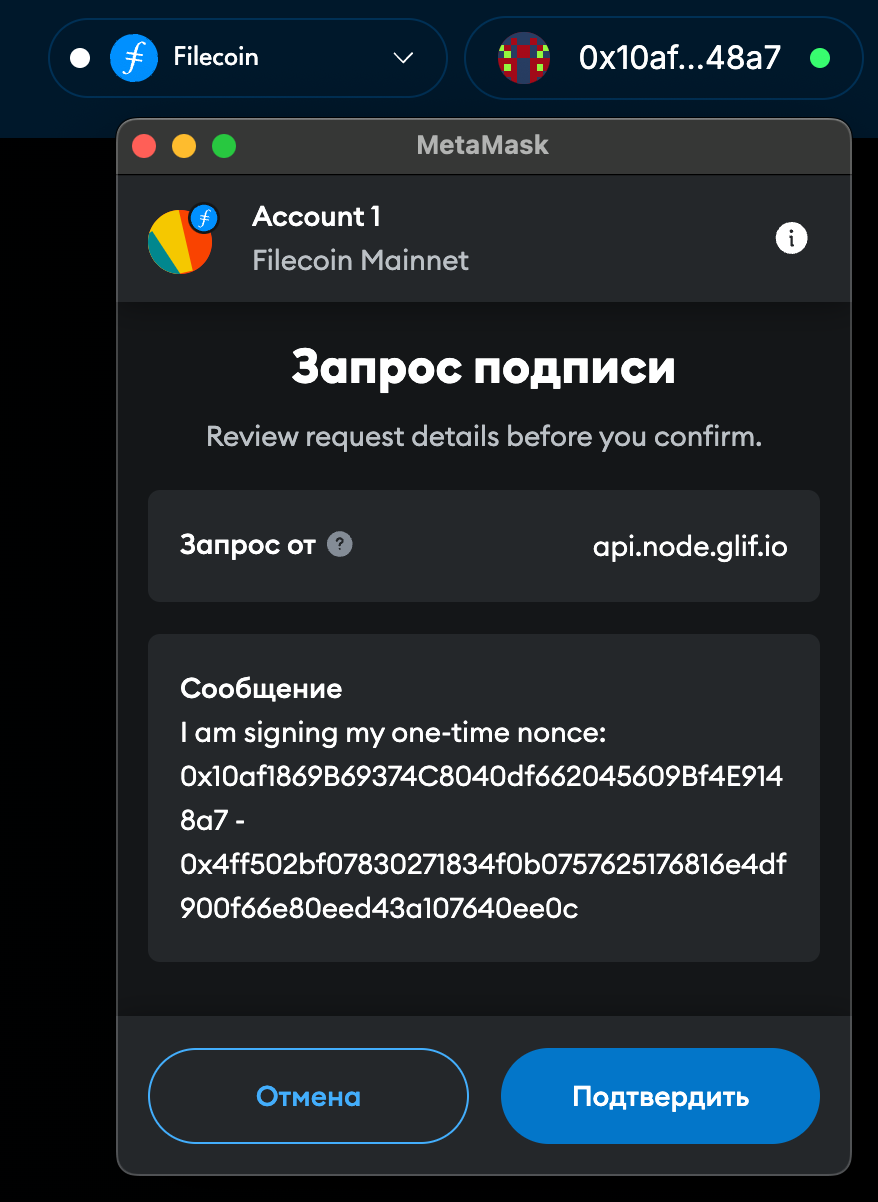
Signature window
Connect Account Button
Connection window
Signature window
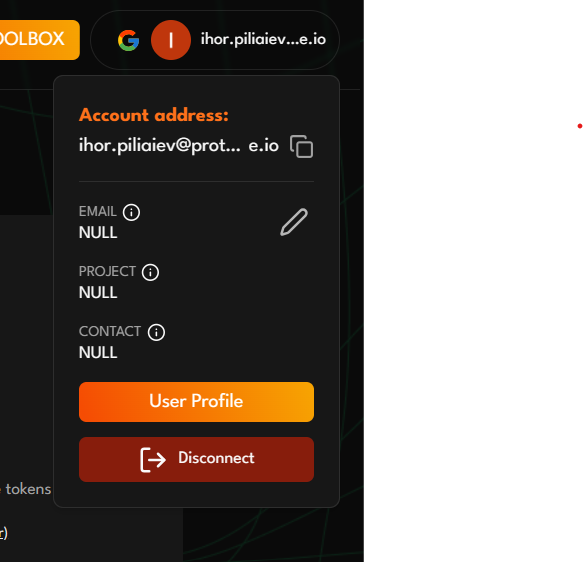
1. Click on your user profile in the top right corner
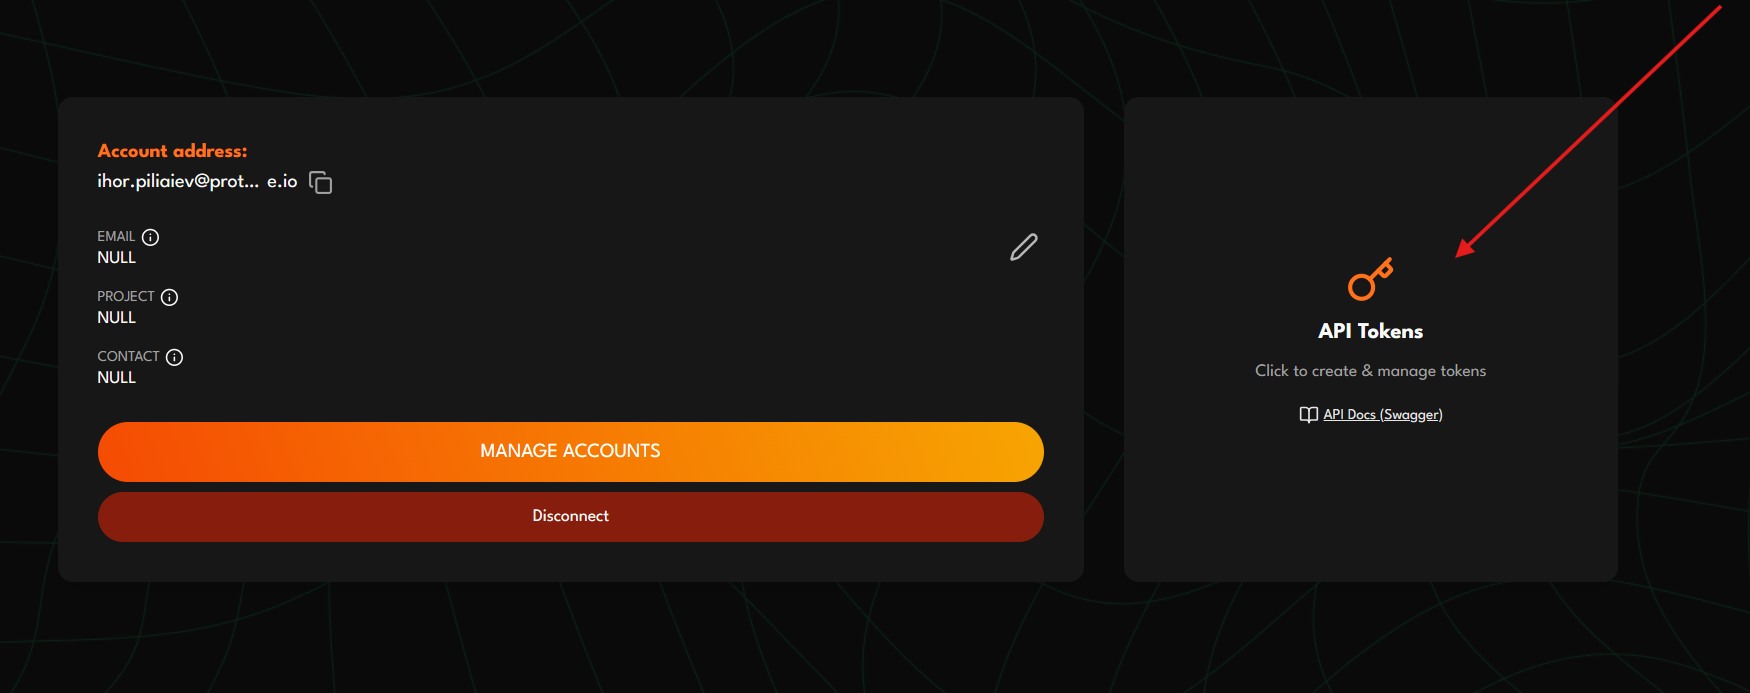
2. Click on the API Tokens card in your profile
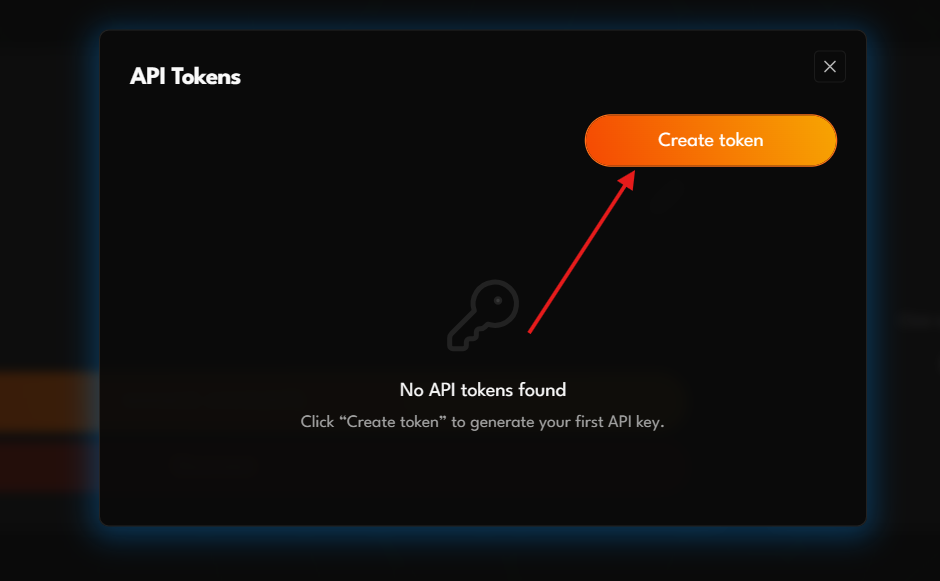
3. Click "Create token" to open the creation form